Firewood Shed Plans - Steps For Picking the Best Shed Blueprints
Cedar shingles are a great option for those who are designing a outbuilding on a budget. Incorporate a wooden roof in outhouse making blueprints because they typically lasts 30 plus years and are a great investment in your outbuilding. Using a staple gun attach a piece of 1-inch felt over any rafters. Using shingles is easy because you just need to place them slightly overlapping each other. As you lay the shingles you can nail them down with roofing nails. When making your patio shed blueprints decide if you would like to utilize tar to hold down strips of shingles (https://sheddrafts.com/3x6-lean-to-firewood-shed-plans-blueprints) on your roof. If you have laid shingles over the edges at some point you will need to trim them. Bend the shingles over the top in an overlapping manner. Overlapping the shingles will make your shed water proof. Buy the thickest shingles you can find if you want to invest a little extra in making your roof durable.
The framing of a shed is an important step in outbuilding crafting diagrams because it stiffens up the plywood boards and supports the roof. Necessary materials for framing include 2X4 timbers and attachments such as nails. Cut the timbers to the outbuilding plan's specified measurements for your back wall frame. Once the wood is cut you can connect the pieces with screws to arrange a frame. Take care to square your frame and all points of the designing process. Once the wall is level you can support it by spacing the remaining 2x4s two feet apart from each other inside the frame. Add ¾-inch plywood to make your frame sturdier and more durable. Once finished with the back wall turn it over and you will be ready to mount it. Follow suit with the remaining walls and be sure you are leveling the angles at all times. Once the back wall has been affixed you can raise all 4 exterior walls.
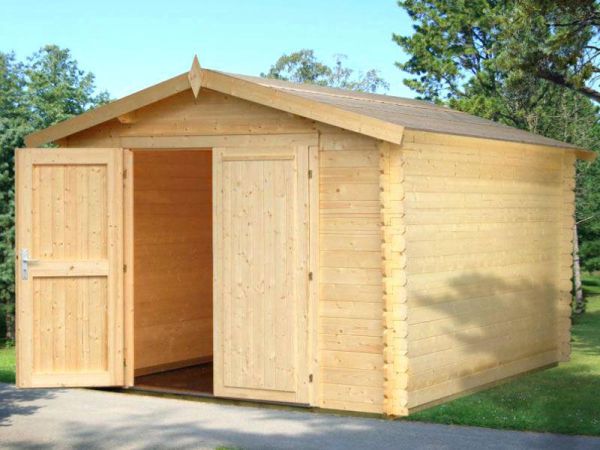
The two types of doors most commonly used in shed blueprints are sliding and hinged. A benefit of doors that are fastened with hinges is that they take up a minimum amount of space. (visit our website) Use doors that slide when making your shed creation schematics because sliders can tuck away and are simple to mount. However sliding doors do require more wall space than hinged doors. If you do not have much space it is best to build or buy a simple hinged door. The longest side of your outhouse is the best placement for any door you choose. Be sure to measure the opening to your door twice so that you have an accurate dimension of height and width. It is important to have accurate dimension or the door will not fit properly. Look in any home center to find a multitude of hinges made from various materials. Choose a sturdy hinge arrangement that will support a heavily used door.
If you are planning on using your shed for various projects it is essential you have power. Working with electricity can be dangerous so be aware of what is safe and practical. To install electricity you must only use SWA cables. Running the SWA cable below ground is the preferred option as it will hide ugly wires. You must consider that sinking the wire below ground means you need to bury it to a depth of at least one meter. Try adding solar panels in order to either replace electrical wires or to supplement your power. Direct light must reach the solar panel for most of the day in order to provide sufficient energy. To install a solar panel simply use a mounting kit that is available in any home center. Bolt the support rails horizontally across the bottom of your solar unit and attach a cable. Consider buying wind turbines for an energy supply if you have a lot of wind.